Why custom garment printing works for businesses and teams
Every shirt, hoodie, or cap a person wears is a walking billboard. That might sound like a marketing cliché until you watch a team of volunteers at a 5K run, all wearing the same printed tee, and realize how effortlessly they signal unity. I have spent years in the apparel industry, and I have seen the same truth play out across dozens of scenarios: the right printed garment does more than cover a body. It communicates purpose, pride, and professionalism.
But getting there requires more than picking a design and sending it to a printer. The process involves choices about fabric, ink, placement, and technique that can make or break the final product. This article walks through the practical side of custom garment printing, what works, what does not, and how to get the results you actually want.
Know your fabric before you think about ink
One of the most common mistakes I see is people choosing a garment purely on cost or color, without considering how the fabric will interact with the printing method. A 100 percent cotton t-shirt behaves very differently from a polyester blend when heat and pressure are applied. Cotton absorbs ink well, which makes it ideal for screen printing. Polyester, on the other hand, can be tricky because the heat used to cure the ink can cause the fibers to warp or even melt if the temperature is not carefully controlled.
For groups ordering in bulk, say, 50 or more pieces, a tri-blend fabric (cotton, polyester, and rayon) offers a soft hand and good print clarity. But if your design includes fine text or detailed line work, a smoother surface like a ringspun cotton tee will hold the detail better. The trade-off is that ringspun cotton can pill over time if not washed carefully. The lesson here is simple: match the garment substrate to the design complexity and the intended use. A construction crew needs durability over softness. A yoga studio might prioritize breathability and drape.
Screen printing versus embroidery: when each makes sense
Custom garment printing covers a broad range of techniques, but for most business or organization orders, screen printing and embroidery are the two heavy hitters. Knowing when to choose one over the other saves money and frustration.
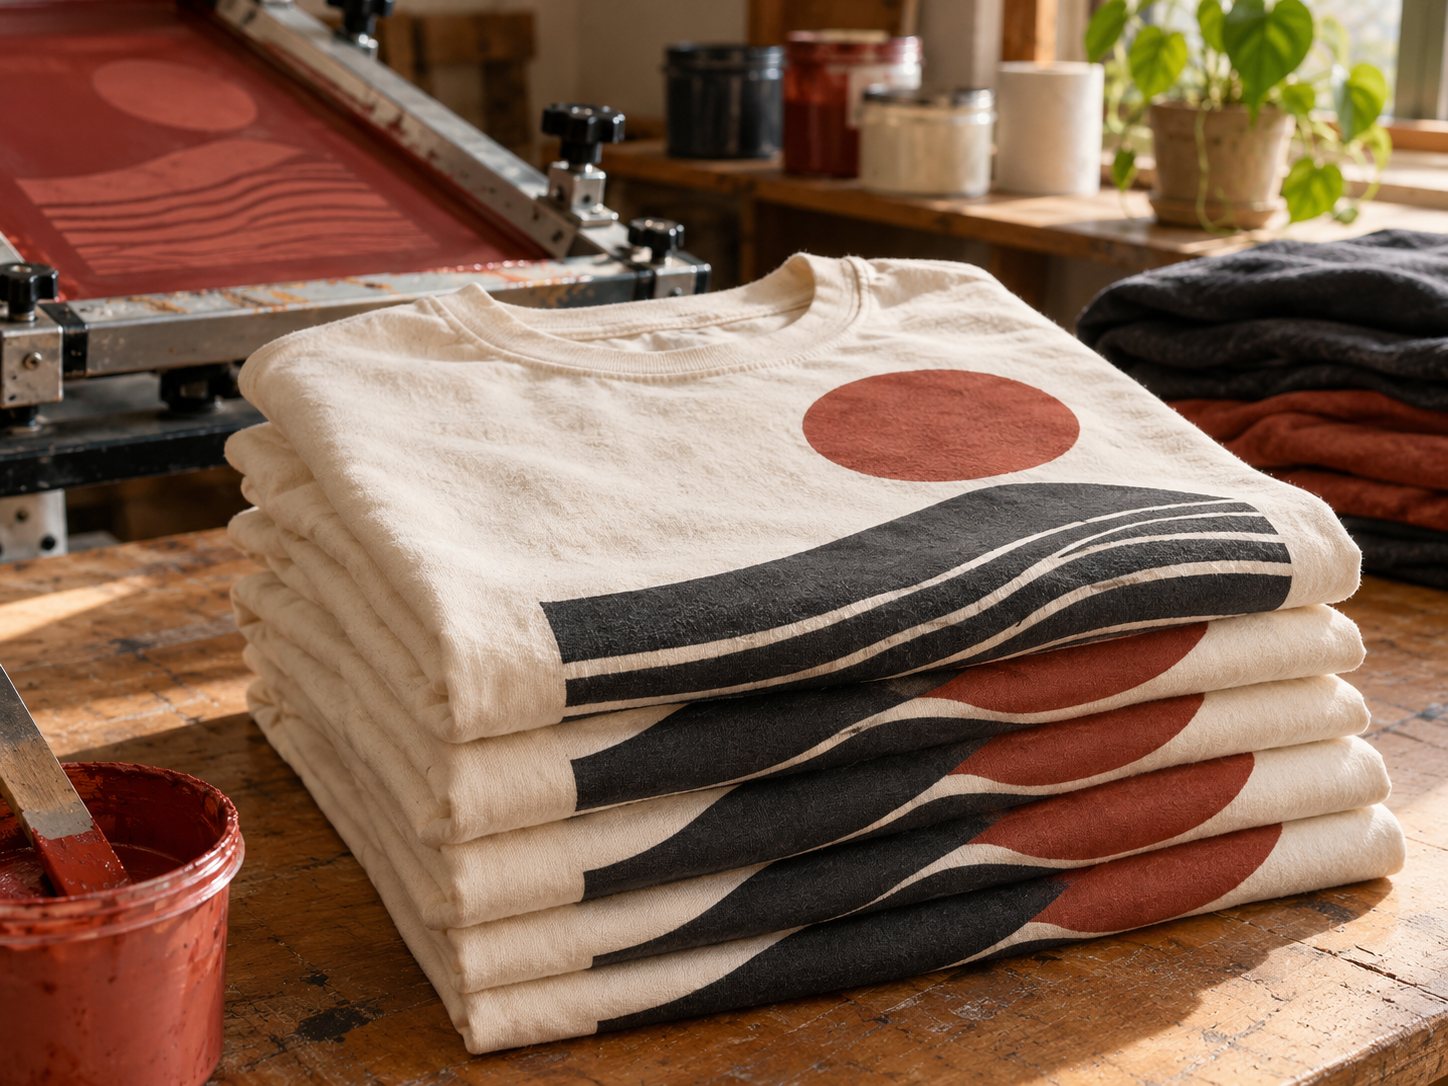
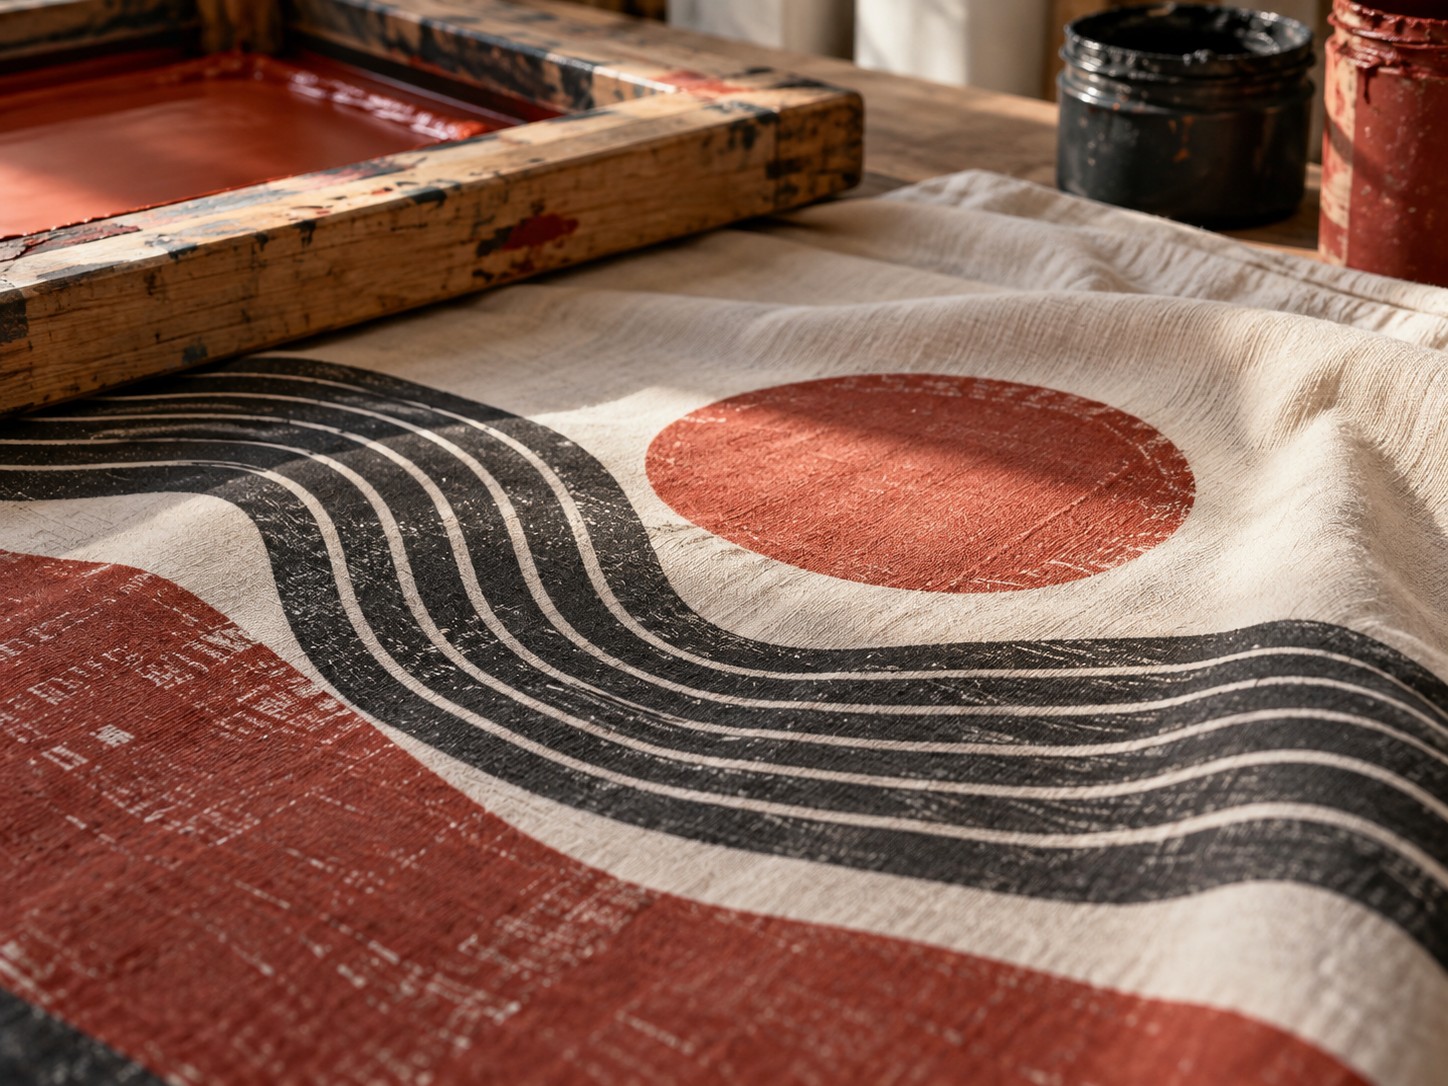
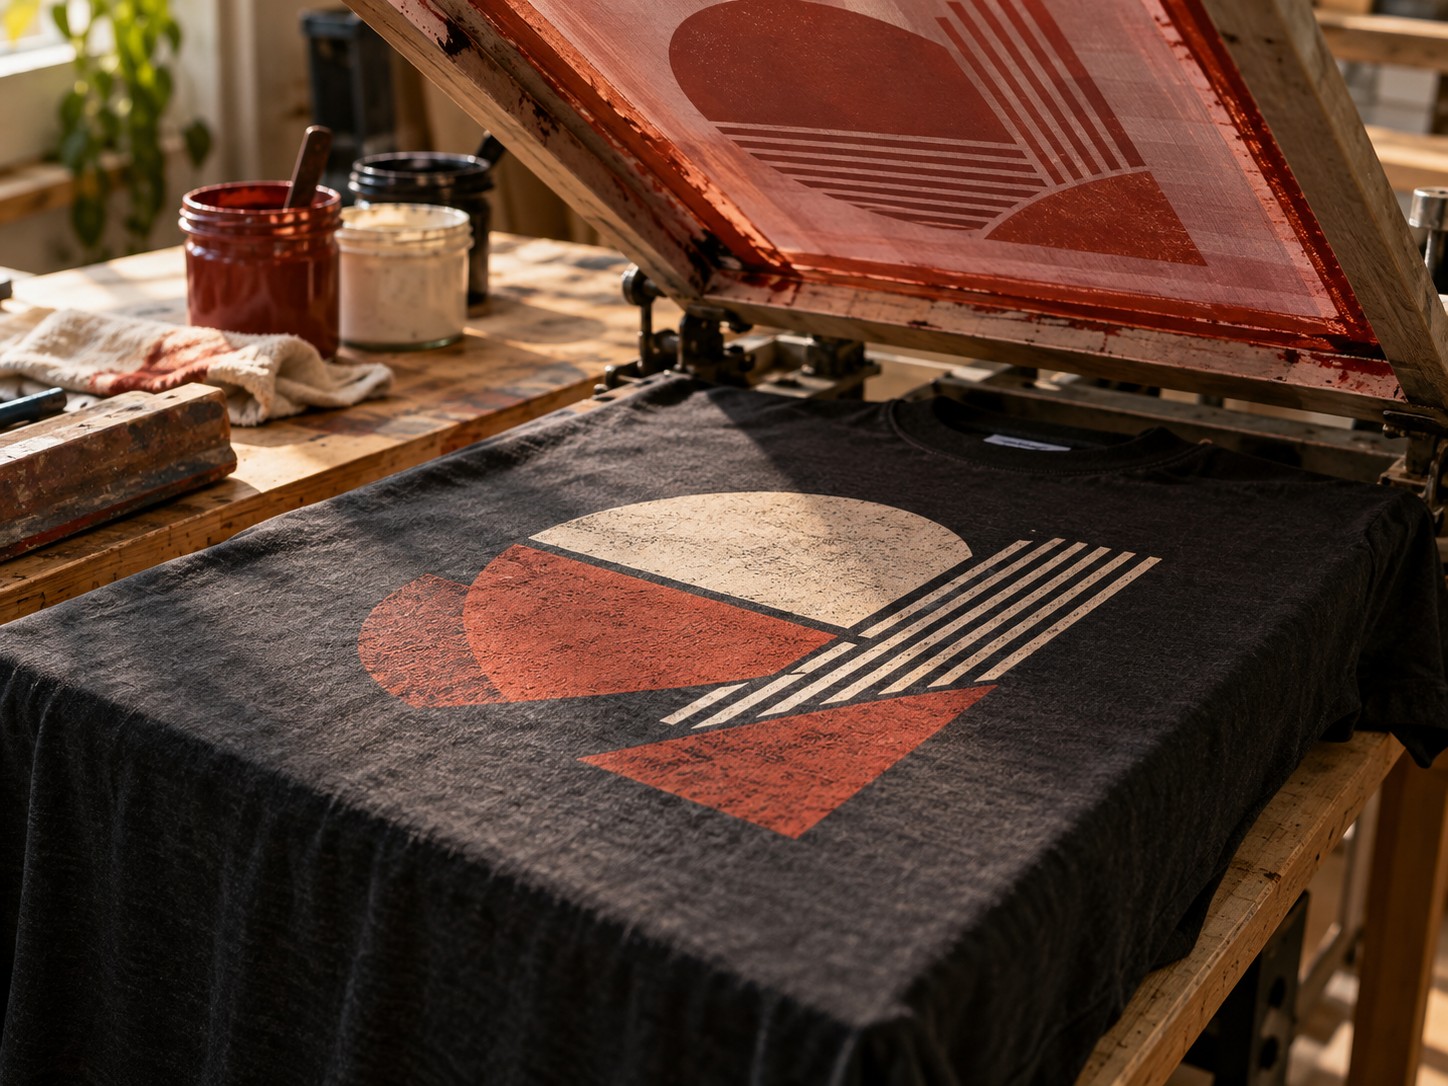
Screen printing is the go-to for large quantities of the same design. It produces vibrant colors, holds up well to washing, and the per-unit cost drops significantly as the order size grows. For designs with multiple colors, each color requires its own screen and setup, so the upfront cost is higher. But once the screens are burned, printing 100 shirts takes almost the same time as printing 500. That is why screen printing is the default for event shirts, team uniforms, and promotional giveaways.
Embroidery, on the other hand, works best for smaller runs or items where a polished, dimensional look matters. Think polo shirts, hats, or jackets. Embroidery adds weight and texture, and it never fades or cracks the way some screen printed inks can over time. The downside is that embroidery cannot reproduce fine detail or photographic images. A logo with tiny text or intricate shading will look muddy when stitched. For those cases, a combination approach, embroidered chest logo with a screen printed back design, can give you the best of both worlds.
Design placement matters more than most people think
I have seen brilliant designs ruined by poor placement. A chest print that sits too high looks awkward. A back print that is too large forces the garment to pull and wrinkle. Standard placement guidelines exist for a reason: left chest prints usually measure about four inches wide and sit four inches below the collar seam. Center chest prints go roughly six to seven inches below the collar. Back prints typically start around six inches down from the collar and can extend down the spine, but they should not go so low that the design disappears when the wearer lifts their arms.
For sleeves, keep the design compact, no more than three inches tall, and centered between the shoulder seam and the hem. A sleeve print that wraps around the bicep can look great on a fit person but will distort on someone with a different arm shape. The rule of thumb: test the placement on a real person, not just on a flat mockup. The human body is curved and moves. A design that looks perfect on a computer screen might land awkwardly on an actual torso.
Color selection and ink types
Ink choice affects both the look and the feel of the print. Plastisol ink is the industry standard for screen printing. It sits on top of the fabric, creating a slightly raised feel. It is durable and produces bright, opaque colors even on dark shirts. But some people dislike the heavy hand feel, especially on soft garments. Water-based ink, on the other hand, soaks into the fabric and leaves a soft, breathable finish. It works beautifully on light-colored garments and gives a vintage, worn-in look. The catch is that water-based ink is harder to print on dark fabrics because the base color of the shirt shows through unless you print an underbase, which adds cost and complexity.
For custom garment printing, one of the most overlooked factors is the shirt color itself. A design that uses a lot of white or light colors will pop on a navy or black tee, but the same design on a white tee will feel washed out unless you adjust the ink colors. Always request a proof or a sample before committing to a full run. A digital proof on a screen is not the same as seeing the ink on the actual fabric. If you can, ask for a strike-off, a single printed garment that shows exactly how the final product will look. It costs a little extra, but it saves you from ordering 200 shirts that feel wrong.
Bulk orders and the hidden costs
When people first hear the per-shirt price for a small order, they are often surprised. Setup fees, screen charges, and art preparation all add up. For a run of 12 shirts, the setup cost might be as much as the shirts themselves. That is why many printers have a minimum order quantity. For screen printing, that minimum is usually 24 to 48 pieces, depending on the number of colors. Embroidery minimums tend to be lower, around 12 pieces, because digitizing the design is the main cost, and after that each piece stitches quickly.
If your order is small but you still want screen printed quality, consider a gang run. Some printers combine multiple small orders onto one screen, reducing the setup cost for each. The trade-off is that you have less control over the shirt color and the timing. Alternatively, heat transfer vinyl (HTV) can work for very small runs of one to ten pieces. HTV produces a solid, opaque print that feels similar to screen printing, but it is not as durable over many washes and can peel if not applied correctly.
For businesses that order recurringly, think a restaurant that needs new staff shirts every quarter, building a relationship with a single printer can save money. Many printers will store your screens or embroidery files and offer a reorder discount. You also get consistency: the same print method, the same ink, the same placement, every time. That consistency matters when your brand is on the line.
Artwork preparation: do not send a low-res JPEG
This might be the single most common pain point in the industry. A customer sends a logo they pulled from their website, saved as a small JPEG, and expects it to print cleanly on a shirt. Screen printing requires a vector file, typically an AI, EPS, or PDF with the design built as paths, not pixels. Vectors scale infinitely without losing quality, and they allow the printer to separate colors cleanly for screen burning.
If you only have a raster image (JPEG, PNG, or TIFF), a good printer can trace it and convert it to vector, but that adds time and cost. The better approach is to work with a graphic designer from the start to create a logo that works both on screen and on fabric. A logo that looks fine on a white website background might need a white underbase on a dark shirt, which adds a layer of complexity. Simple, high-contrast designs with two or three colors print cleaner, cost less, and last longer.
For custom garment printing, the rule is: simplify, then simplify again. A design that looks great on a poster will often look cluttered on a 4-inch chest print. Remove unnecessary details, increase line weights, and leave breathing room around the edges. The best shirt designs are the ones you can read from across a parking lot.
When to think about the timeline
Screen printing is not fast. A typical turnaround for a bulk order is 10 to 15 business days from art approval. That includes screen burning, printing, curing, and packaging. If you need shirts in a week, you might have to pay a rush fee or switch to a faster method like direct-to-garment (DTG) printing. DTG works like an inkjet printer on fabric. It can handle full-color, photographic designs with no setup, and it is great for short runs. The downside is that DTG prints are not as durable as screen printing, especially on dark garments, and the cost per shirt is higher for large orders.
Embroidery turnarounds are similar, but the digitizing step adds a day or two. If you are ordering hats or jackets, expect an extra week because those items are harder to hoop and stitch. Always build in a buffer. I recommend ordering at least three weeks before you actually need the garments. That gives you time to approve a sample, fix any issues, and still have the shirts in hand before the event or deadline.
Connect with us on Instagram.
Practical tips for first-time buyers
If you have never ordered printed apparel before, the process can feel overwhelming. Here are a few concrete steps that make it easier:
- Start with the garment. Pick a shirt style and color before you finalize the design. The fabric and color will affect how the ink looks and feels.
- Request a physical sample. A digital mockup is a starting point, but only a real printed sample shows you the true color, placement, and hand feel.
- Order a few extra shirts. Shrinkage happens, and sizes run differently across brands. Having extras means you can replace a damaged shirt without reordering a full run.
- Think about the washing instructions. Screen printed shirts last longer if washed inside out in cold water and hung to dry. Include a care tag or communicate this to your group.
- Ask about the ink type. If the shirts are for a hot outdoor event, a heavy plastisol print might trap heat. A water-based or discharge print keeps the garment breathable.
I have seen organizations save hundreds of dollars by following these steps and avoid the disappointment of a print that looked great in the proof but terrible in person. The small upfront effort pays off in a finished product that people actually want to wear.
For custom garment printing, the difference between a mediocre result and a great one often comes down to preparation. Know your fabric, choose the right method, simplify your art, and give yourself enough time. The shirt you end up with will feel like it was made for you, because it was.
DSP Printing, located at 11611 Salinaz Dr Ste O in Garden Grove, CA 92843, provides custom screen printing and embroidered apparel services for businesses and organizations in the area, and can be reached at +1 714-951-4919.